Moving is right up there with taxes and finals - miserable and unavoidable. Over the course of my college career, I've moved either in or out of my sorority house or dorm no fewer than 12 times. The past 8 times I've been moving everything I own; at my chapter we are lucky enough to change rooms every semester, but that means we have to clear out everything from our old rooms and take it home. Packing is annoying, stressful and overwhelming- a terrible thing to do after taking your finals. But here are a twenty tips and tricks I've picked up along the way, hopefully it'll make your moving experience a bit less stressful this year!
1. Plan to pack when your roommate isn't. I learned this lesson the hard way freshmen year. Trying to pack at the same time as your roommate is the epitome of chaos. Y'all's stuff is already mixed together, trying to pack that way actually makes it worse. Plus the room you're sharing is probably closet-sized so you'll have even less room. If you are lucky enough to have suite-style living it might not be as bad, but the hallways get cluttered and dangerous quickly!
2. Pack a bag. If you're going to arrive home late or tired and won't be unloading everything that day, pack a little overnight bag with your necessities so you're not digging around for your toothbrush and a clean pair of underwear!
3. Keep all your chargers and electronics in your backpack. This is immensely helpful because everything is together, easily accessible and in a location that makes sense- not crammed in the side of a duffle or inside a coffee cup!
4. Use clear, stackable boxes. This way you can see exactly whats inside. Writing down everything you put inside as you go and then taping the list in the lid of the box is extremely helpful as well.
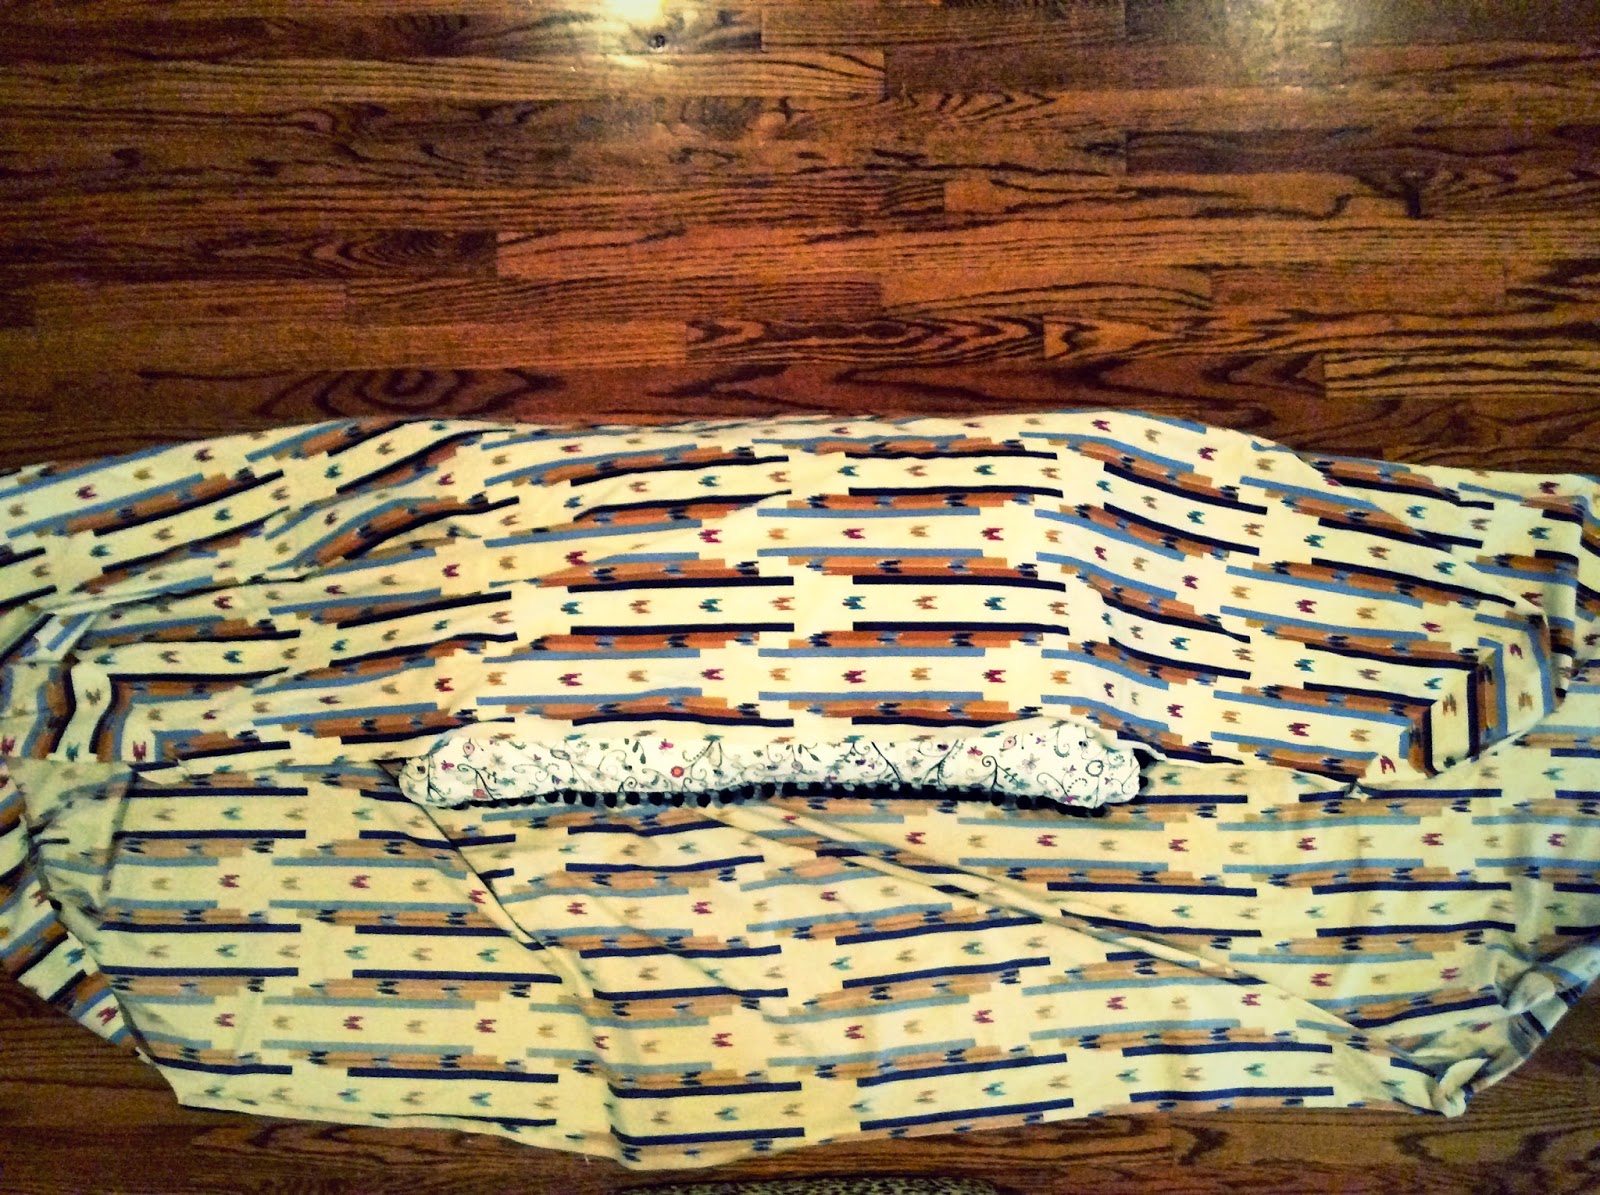
5. Toss all your shoes in a bag. My favorite kind of bag to use for shoes are the plastic reusable totes because if there is any dirt on your shoes it doesn't ruin a good bag! Plus they fold up easily for storage when you're done.
6. Get some use out of your boots. Boots are big, bulky and take up a lot of room in your car (and closet!). My advice is to store odds and ends in the shaft of the boot. For example, I usually keep my umbrellas in my rain boots! For moving this year I also used them to hold shoes that didn't quite fit in my shoe tote.
7. Buy a belt hanger. I use a style from The Container Store (because my big does too) and it's life changing. For your belts that can't be hung, tuck them into your purses!
8. Store little purses in big purses. This way you only have to grab a few big bags and don't have to worry about all the messy straps
9. Have some extra, sturdy paper bags on hand. Having a few bags left from purchases really comes in handy for all the odds and ends you may come up with when you're winding down the packing. If you don't end up needing them you can just drop them in the recycling bin!
10. Don't be afraid to toss things! Have a trash can or box near by when you start packing. Old papers, broken necklaces or any general trash should be discarded immediately so its out of the way.
11. Strip your bed last. This way if you end up taking longer than you planned to pack, you can just go to sleep and finish in the morning. Driving when you're tired is really dangerous, even more so if you're like me and tend to cry as you're driving down the interstate away from your sisters, your college and another semester of fun.
12. Keep your bedding's original packaging. If your comforter, blankets or sheets come in a reusable package keep it! It serves as a convenient way to pack up these otherwise awkward bedding items, plus most packaging is designed to move the item in its most condensed size- perfect for moving!
13. Store as much as possible. Each chapter has its own rules on extended holiday storage. if your chapter allows it and you're moving back in just a few months- leave what you can there. This includes big items like wall art, chairs, decorations or anything you won't use over the break. Just be sure to put your name on everything!
14. Find/bribe/date a boy who will help you move your boxes. Be prepared when he arrives and reward him afterwards. It's hard work but can be done in half the time with an extra set of (strong) arms!
15. Load big things first. This is the rule anytime you're loading up a car. Stack your boxes, lamps or anything else over-sized first, then pack everything else in around it. They don't say large and in charge for nothing.
16. Use a bar. Hanging clothes travel best when well, hanging. Most stores like Target or Walmart carry a bar that extends from one side of your car to the other, clipping into the dry-cleaning hooks.
17. Use caution when carrying hanging clothes. When carrying your hanging clothes, don't carry too many, don't try to hold anything else, and don't mix normal hangers with weird hangers. the end result would be dropping, slipping and possibly falling on your way out the door. If you have clip hangers, a belt/scarf hanger, or anything in a dry cleaning or garment bag, carry those separately
18. Load bedding last. Toss your pillows, blankets and comforters in last. They're soft and can squish into any remaining crevice left in your car.
19. Don't forget your shower caddy! It's one of the most common things to forget because its out of sight and out of mind down the hall in the bathroom. If this is your last experience living in a communal bathroom and don't foresee using a shower caddy in the future- toss it. You'll probably not have a need for it and they get pretty gross.
20. Stay hydrated. Seriously, don't forget to take a break every once and a while to have a sip of water and a bite of a granola bar. Moving is a marathon- not a race!
Tip for the future: Take as much home as possible before moving out. conveniently , there are holidays usually within weeks of finals week. In the fall its Thanksgiving and in the spring its Easter. Use these trips home to your advantage- take anything you won't use those last few weeks home so you wont have to worry about them later. This Easter I took home my formal dresses, winter coats and all my sweaters. Oklahoma weather is ever-changing but I was sure I wouldn't need all my gear in early May!
XOXO


.png)


